If you assign colors to your Worksheet tabs, you may want to sort or group Worksheets based on their tab colors, but there's no built-in tool to sort or group Worksheets by color in Excel, you need to drag and drop the sheet tabs on the sheet tab bar, if you have multiple worksheets, it seems very boring to do it manually. In this situations, you can use this simple macro.
Group Worksheets by Color
'------------------ Modules ------------------
Sub GroupWorksheetsByColor()
'Step 1: Declare your Variables
    Dim CurrentSheetIndex As Integer
    Dim PrevSheetIndex As Integer
'Step 2: Turn screen updating off to speed up your macro code
    Application.ScreenUpdating = False
'Step 3: Set the starting counts and start looping
    For CurrentSheetIndex = 1 To Sheets.count
        For PrevSheetIndex = 1 To CurrentSheetIndex - 1
'Step 4: Check Current Sheet against Previous Sheet
            If Sheets(PrevSheetIndex).Tab.ColorIndex = Sheets(CurrentSheetIndex).Tab.ColorIndex Then
'Step 5: If Move Current sheet Before Previous
                Sheets(PrevSheetIndex).Move Before:=Sheets(CurrentSheetIndex)
            End If
'Step 6: Loop back around to iterate again
        Next PrevSheetIndex
    Next CurrentSheetIndex
'Step 7: Turn screen updating on
    Application.ScreenUpdating = True
End Sub
Excel assigns an index number to every color, we can use this property to sort or group Worksheets by color.
This macro iterates through the sheets in the workbook, comparing the tab color index of the current sheet to that of the previous one. If the previous sheet has the same color index number as the current sheet, the macro moves the current sheet before it. By the time all the iterations are done, all of the sheets are grouped together based on their tab colors.
How This Macro Works
- In Step 1 declares two integer variables. The CurrentSheetIndex holds the index number for the current sheet iteration, and the PrevSheetIndex variable holds the index number for the previous sheet iteration.
- In Step 2, we use
Application.ScreenUpdating = Falseto turn screen updating off to speed up this macro code. - In Step 3, the macro starts iteration counts for both variables. Note that the count for the PrevSheetIndex is one number behind the CurrentSheetIndex. After the counts are set, we start looping.
- In Step 4, we check to see whether the color index of the previous sheet is the same as that of the current sheet. In this step, note the use of the Tab.ColorIndex property. We use this to get the the color index of the sheet.
- Step 5 is reached only if the color index of the previous sheet is equal to the color index of the current sheet. In this step, the macro uses the Move method to move the current sheet before the previous sheet.
- In Step 6, we go back around to the start of the loop. Every iteration of the loop increments both variables up one number until the last worksheet is touched. After all iterations have been spent, the macro ends.
- Finally, you should turn screen updating on use
Application.ScreenUpdating = True.
How to Use This Macro
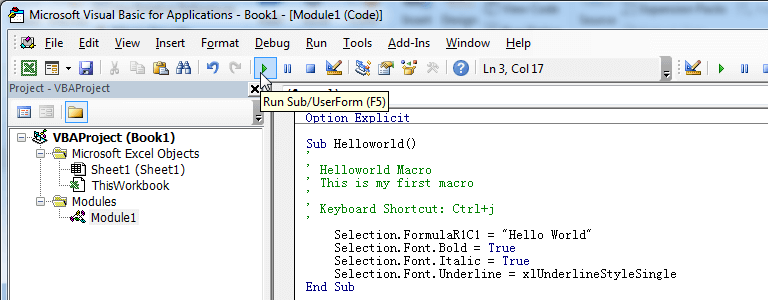
Most VBA code should be placed in Standard Modules unless specified.
If you see a comment '------------------ Modules------------------ in the code header that means put the code in a Standard Module. For more information, learn this course: Where should I put the Excel VBA code?
The following steps teach you how to put VBA code into a Standard Module:
- Activate the Visual Basic Editor by pressing ALT + F11.
- Right-click the project/workbook name in the Project Window.
- Choose Insert -> Module.

- Type or paste the code in the newly created module. You will probably need to change the sheet name, the range address, and the save location.

- Click Run button on the Visual Basic Editor toolbar.
- For more information, learn this course: Programming with Excel VBA