Sometimes, if you want to talk about Excel formulas with your colleagues, you must want to give your colleagues complete information by including row and column headings in your figures. Here's how to copy Excel selection as picture include row and column headings.
For Excel 2003
- Click File, Page Setup. In the Sheet tab of the Page Setup dialog box, check the Row and Column Headings check box. Then click OK.
- select the range you want to copy.
- Hold down your Shift key and then click Edit, Copy Picture (The Copy Picture menu item isn't visible unless you hold down the Shift key when you click Edit.). In the Copy Picture dialog box, select the As shown when printed option. Then click OK.
- Paste the picture as you always would. In Excel, or Word.
For Excel 2007, 2010, 2013
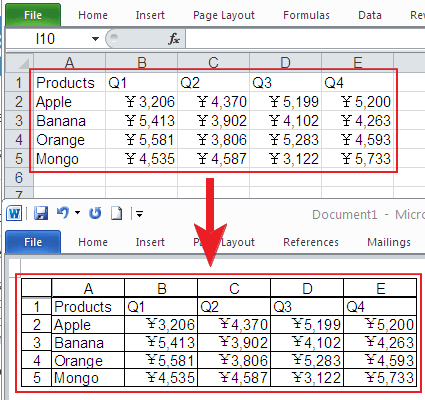
- On the Ribbon, click the Page Layout tab, in the Sheet Options group, under Headings, select the Print check box (Optional: Under Gridlines, select the Print check box).
- Select the range you want to copy.
- On the Ribbon, click the Home tab, in the Clipboard group, click the dropdown for Copy and choose Copy as Picture and select the As shown When Printed option.
- Paste the picture as you always would. In Excel, or Word.
Video