In Excel, Fill Justify function is an interesting feature that allows users to reformat text so that it fits into a pre-selected space. But do you know Fill Justify Function can transfer rows to a column Ok, let's look this excellent feature.
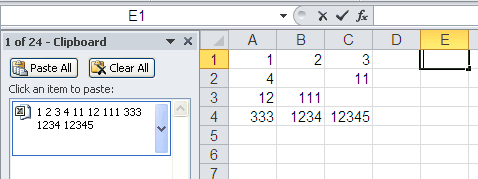
For example, how to transfer A1:C4 to column E, see figure below:

Getting the data
Copy A1:C4 to a new worksheet to start this tutorial.
|
|
Use Fill Justify Function Transfer Rows to a Column
- Select A1:C4.
- Press CTRL+C.
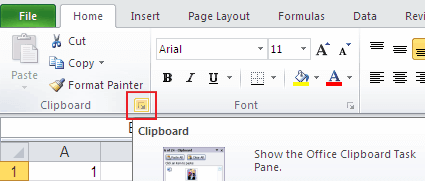
- Under the Home menu tab, in the Clipboard group, click the Clipboard button to show the office Clipboard Task Pane.
- Double click E1. Or select E1, then press F2.
- Click the item that we copied in the clipboard.
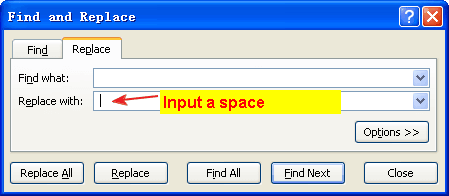
- Press CTRL+H to open Find and Replace window.
- In Find what box, hold down the ALT key, type 10 on the number pad, then releasing ALT. This step will enter line break symbol (ALT+10).
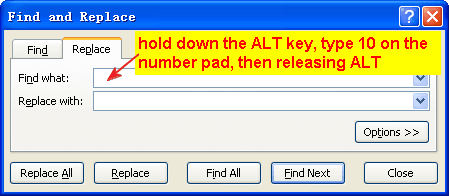
- In Replace with box, input a space. Then click Replace All.
- Click Ok to close the dialogue box.
- Click Close to close Find and Replace.
- Change the width of Column E. Drag the boundary on the right side of the Column E heading until the column is only display one character.
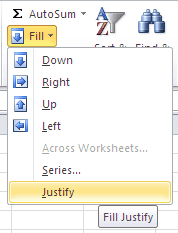
- Under the Home menu tab, in the Editing group, click the Fill button, then choose Justify.
- Click OK to close the warning dialogue box.
- Under the Data menu tab, in the Tata Tools group, click the Text to Columns button, then click Finish in the Convert Text to Columns Wizard window.
Video Tutorial